Hi All!!
Just blumming typical i make a nice summery top and the sun goes away!! But hey ho!
Here is my Tutorial for the ever so lovely Simple Sew Peter Pan Collar Blouse where you can buy here
Now this is one easy great looking Blouse to make, I have never used Bias Binding before but it does give a super finish without the added facings which is perfect for this light and airy blouse 🙂
As always make sure you launder your fabric prior to you starting to cut your pattern pieces out as this allows for shrinkage as it would be a complete shame not to do this before hand and to make an awesome autumn staple, wear it and love it then to put in the wash where it’ll shrink and the dress would be too small to wear!
First open up the envelope and make yourself a brew and read the instructions and make a list of materials/equipment you need if you don’t have them already so no last minute dash to the local habersary store or waiting days for online orders lol. My choice of brew was the ever so comforting Dolce Gusto Chocoino Caramel in my fav Puffin cup and Pick Me up Biccie nom nom!

My Construction list:
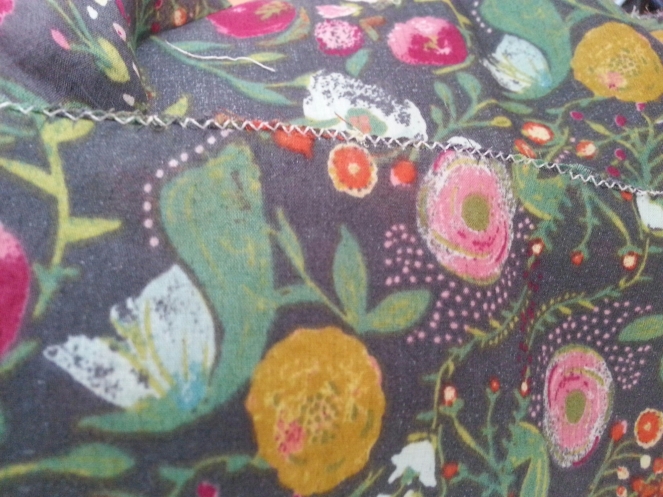
1.5m of the Art Gallery Emmy Grace Budquette Nightfall Cotton Voile which was kindly provided by Whitree Fabrics where it can be purchased here
0.5m of Plain Cotton – Rose Mist which was kindly provided by Whitree Fabrics where it can be purchased here
0.75m Medium Weight Interfacing
1.5m of 1cm wide Bias Binding – I could only find 1.5cm so i used that and still looks good.
7 x 1 cm Buttons
Guterman Thread – There’s no other thread like it in my opinion, you do need good quality thread as it does show in your creations.
Paper Scissors – For cutting Pattern Pieces out as these will blunt and make cutting fabric out quite uneven!
Fabric Scissors
Pins
Tailor’s Chalk – For marking on fabric that soon rubs away
Greaseproof Paper – Tracing the Pattern onto as for some reason i don’t want to chop up my paper patterns just in-case i need to make for a gift. Also a great alternative to expensive to Dress Making Paper.
French Curve – handy for getting those straight lines whilst tracing or to grade in between sizes if your measurements are in between sizes.
Pencil for marking out the pattern of course
Weights – for holding down pattern pieces in place without pin marks. I picked my up for 30p each from Boyes.
Iron and Ironing Board
And last but not least the Trusty Sewing Machine, Normal sewing foot
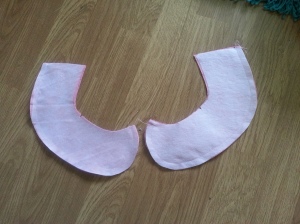
Now then, you can go ahead and cut straight into the paper pattern to the size you require but if your like me and like to keep my paper pattern intact then trace your pattern onto the paper and to make sure you add any nothces/markings onto the paper then cut out like shown below:
Fold fabric Right Sides Together selvedge to selvedge and places the pattern pieces on the top. Align the straight grain line on the pattern piece to grain of the fabric and either pin down the pieces or use pattern weights like i have its up to you! Then of course cut away!

Also i like to overlock (if you don’t have an overlock stitch on your machine just use a small zig zag stitch that works a treat too) the raw edges which are the side seams, centre back of the back pieces and the hem so you don’t have to fiddle around doing them whilst constructing the Blouse together and also they will have a lovely soft edge to them so it’ll be comfy whilst wearing 🙂
Now to fuse 2 pieces of the interfacing to the wrong side of one pair of the Collar pieces.
To construct the collar, with Right Sides Together, pin together 1 fused Collar piece and 1 without and sew around the curved edge using a 1cm seam allowance and notch the inner curve and repeat for the other pair.
Trim the surplus seam allowance around the curved edge to approx 2mm to allow for smooth shape when turn through.
At the Centre Back Collar pin together and sew using 1cm seam allowance and repeat on the other collar, Now to turn through to the Right Sides, push the corner edges with the end of a pencil and then press the collars for a nice finish.
Now onto the Blouse, with the Right Sides Together pin the Front and Back Blouse shoulders together and sew with 1cm Seam allowance.
With the Right Sides Together pin the Front and Back side Seams with 1cm Seam Allowance
At the Back opening, fold over the Left Bodice edge to make a hem of 5mm, iron flat and stitch and repeat for the other side.

Now onto fixing the Collar to the Blouse 🙂
Pin the Collar in place around the neck edge matches the notches (the fused side of the collar should be on the underside of the collar, then sew the Collar to the neck of the blouse using 1cm Seam Allowance and then snip small nothces in the inner seam.

At the Left Back Bodice Opening, fold at the Centre Back Neck Notch with the Right Sides Together and Pin in Place.
Place the Bias Binding which should be approximately 46cm in length with the Right Sides Together and pin the binding round the neckline with the fold line of the binding on or just before the stitch line of the neckline and remember to backstitch 1cm before the Centre Back Notch and then cut off the any excess. Repeat on the other side
Now to trim away any surplus seam to the binding edge. Repeat on the other side
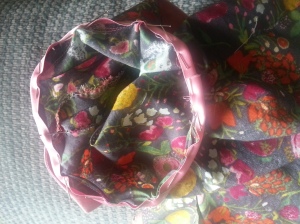
Fold the binding over and pin in place on the inside of the neckline and sew at the folded outer edge. Repeat on the other side
Now onto the tricky armholes, with approximatley 40cm of the binding for each armhole, pin it Right Sides Together at begin sewing at the bottom of the armhole where the side seam starts and give an extra 5cm at either end for ease. it should overlap slightly. Repeat on the other side
Trim the armhole edge to match the bias binding edge and then to fold over the binding pin in place on the inside of the armhole and sew at the folded outer edge. Repeat on the other side.
Now onto making the button stand, with the Wrong Sides Together to match up with the Centre Back Notch and that the Bias Binding should end nicely at the top, pin in place and sew all the way to the bottom.
Turn up the Hem of the blouse by 0.5cm on each side, pin in place and iron flat. Sew away!
Buttonholes! We are nearly finished! 🙂
Mark the on the Right Back of the Blouse and the 1st Buttonhole mark should be 5mm down from the neck and 1cm in from the edge like shown below:
Then mark each subsequent buttonholes (there’s 5 more) at equal spacing of 10cm and set your machine to vertical buttonholes for 1cm buttons. Im lucky enough to have a funky button hole attachment for sewing machine that measures the button and makes the button hole to fit automatically so no measuring so im sorry that i cant explain how to do them on a 4 step setting as mine is just 1 step.
Now you should have 6 button holes and a little tip to get your button holes cut without going into the stitching is placing a pin at the top the button hole like shown below and your place your seam ripper in at the bottom and cut up right up to them top knowing that you can’t go any further as the pin is stopping you!
Place the Right Back Blouse over the Left Back Blouse and pin together at the Centre Back Neck, Middle and Hem and mark at the centre of each buttonhole and this will give you the correct placing of your buttons. I’ve place a pin through to help me find the position of the buttons as i found this easier than fathing with chalk.
Then sew on the buttons and hey presto! You have made yourselves The Peter Pan Collar Blouse!
Of course here is moi modeling the blouse whilst out and about:
So there you go peeps, Ive got some more projects that nearly finished ready to blog so get ready for some eye candy lol
Have a fabby Thursday!
Sal x


One thought on “Simple Sew’s Peter Pan Collar Blouse Tutorial”